
The Ultimate Craft Beer Bottling Guide for Homebrewers
Homebrewing craft beer is an enjoyable and rewarding hobby. One of the most important steps in homebrewing is the bottling process. Proper bottling can enhance the flavor and ensure your beer is ready to relish. Whether you’re a seasoned brewer or just starting, this comprehensive guide will help you master the art of bottling your craft beer.
Why Proper Bottling Matters
Bottling is crucial for a few reasons:
- Preservation: Proper bottling helps maintain the flavor, aroma, and quality of your beer.
- Carbonation: Bottling allows for carbon dioxide to develop naturally, resulting in the delightful fizz we all love.
- Enjoyment: Well-bottled beer enhances the drinking experience with excellent head and mouthfeel.
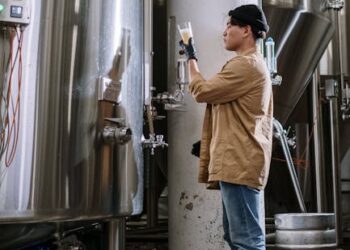
Gathering Your Equipment
Before you start bottling your craft beer, you’ll need to gather the right tools and materials. Here’s what you should have:
Essential Bottling Equipment
- Bottles: Use either glass or plastic bottles. Glass is preferred for taking advantage of flavor and aroma.
- Bottle Caps: Make sure to stock up on the correct size caps for your bottles.
- Bottle Capper: A tool that securely seals your bottles with caps.
- Priming Sugar: This will help carbonate your beer. Common choices include corn sugar and table sugar.
- Bottling Bucket: A bucket with a spigot to make filling bottles easier.
- Hydrometer: To measure the specific gravity and monitor fermentation.
- Cleaning Supplies: Sanitizer and brushes are necessary for keeping your equipment clean.
Preparation: Cleaning and Sanitizing
The first step to successful bottling is ensuring everything is clean and sanitized. This avoids contamination, which can spoil your beer. Follow these steps:
Cleaning Your Equipment
- Wash all bottles thoroughly with hot water and soap to remove residue.
- Use a bottle brush for hard-to-reach areas and ensure no bits are left inside.
Sanitizing
After cleaning, apply a sanitizing solution:
- Prepare a no-rinse sanitizer according to the instructions.
- Soak your bottles and caps in the solution for at least 5 minutes.
- Let the equipment drain and air dry on a clean surface.
Understanding Carbonation
Carbonation is vital for a great beer. During bottling, you’ll need to add priming sugar to achieve this. Here’s a simple breakdown:
Calculating Priming Sugar
How much sugar you need depends on the style of beer and your taste preferences. As a general rule, aim for about 3/4 cup of corn sugar for 5 gallons of beer. A digital scale can help with precision.
Dissolving Sugar
Dissolve the priming sugar in about 2 cups of boiling water. Once cooled, add it to your bottling bucket. This mixture helps evenly distribute the sugar throughout your beer.
The Bottling Process
Now that you have everything prepped and ready, it’s time to bottle your beer!
Step-by-Step Bottling Instructions
- Transfer Your Beer: Use a siphon to transfer your beer from the fermenter to the bottling bucket without disturbing the sediment.
- Add The Priming Sugar: Gently mix your beer and sugar solution in the bottling bucket to avoid oxidation.
- Fill The Bottles: Position the bottle under the spigot and fill each bottle leaving about an inch of space at the top.
- Cap Your Bottles: Use your bottle capper to secure the caps tightly after filling.
Storing Your Bottled Beer
After bottling, your beer needs some time to carbonate and mature. Here are some storage tips:
Where to Store
Place your bottles in a dark, cool area—ideally at a consistent temperature between 65°F and 75°F. Avoid direct sunlight, as it can affect the beer’s flavor.
Timing for Carbonation
Most beers require about 1 to 2 weeks for carbonation, but some styles may need longer. Patience is key to enjoying your creation!
Common Bottling Mistakes to Avoid
Every homebrewer makes mistakes, but here are some common pitfalls to avoid:
- Insufficient Cleaning: Always clean and sanitize your equipment thoroughly to prevent off-flavors.
- Over-Carbonation: Adding too much sugar can cause bottle bombs! Measure carefully.
- Oxidation: Minimize exposure to air during bottling to prevent stale flavors.
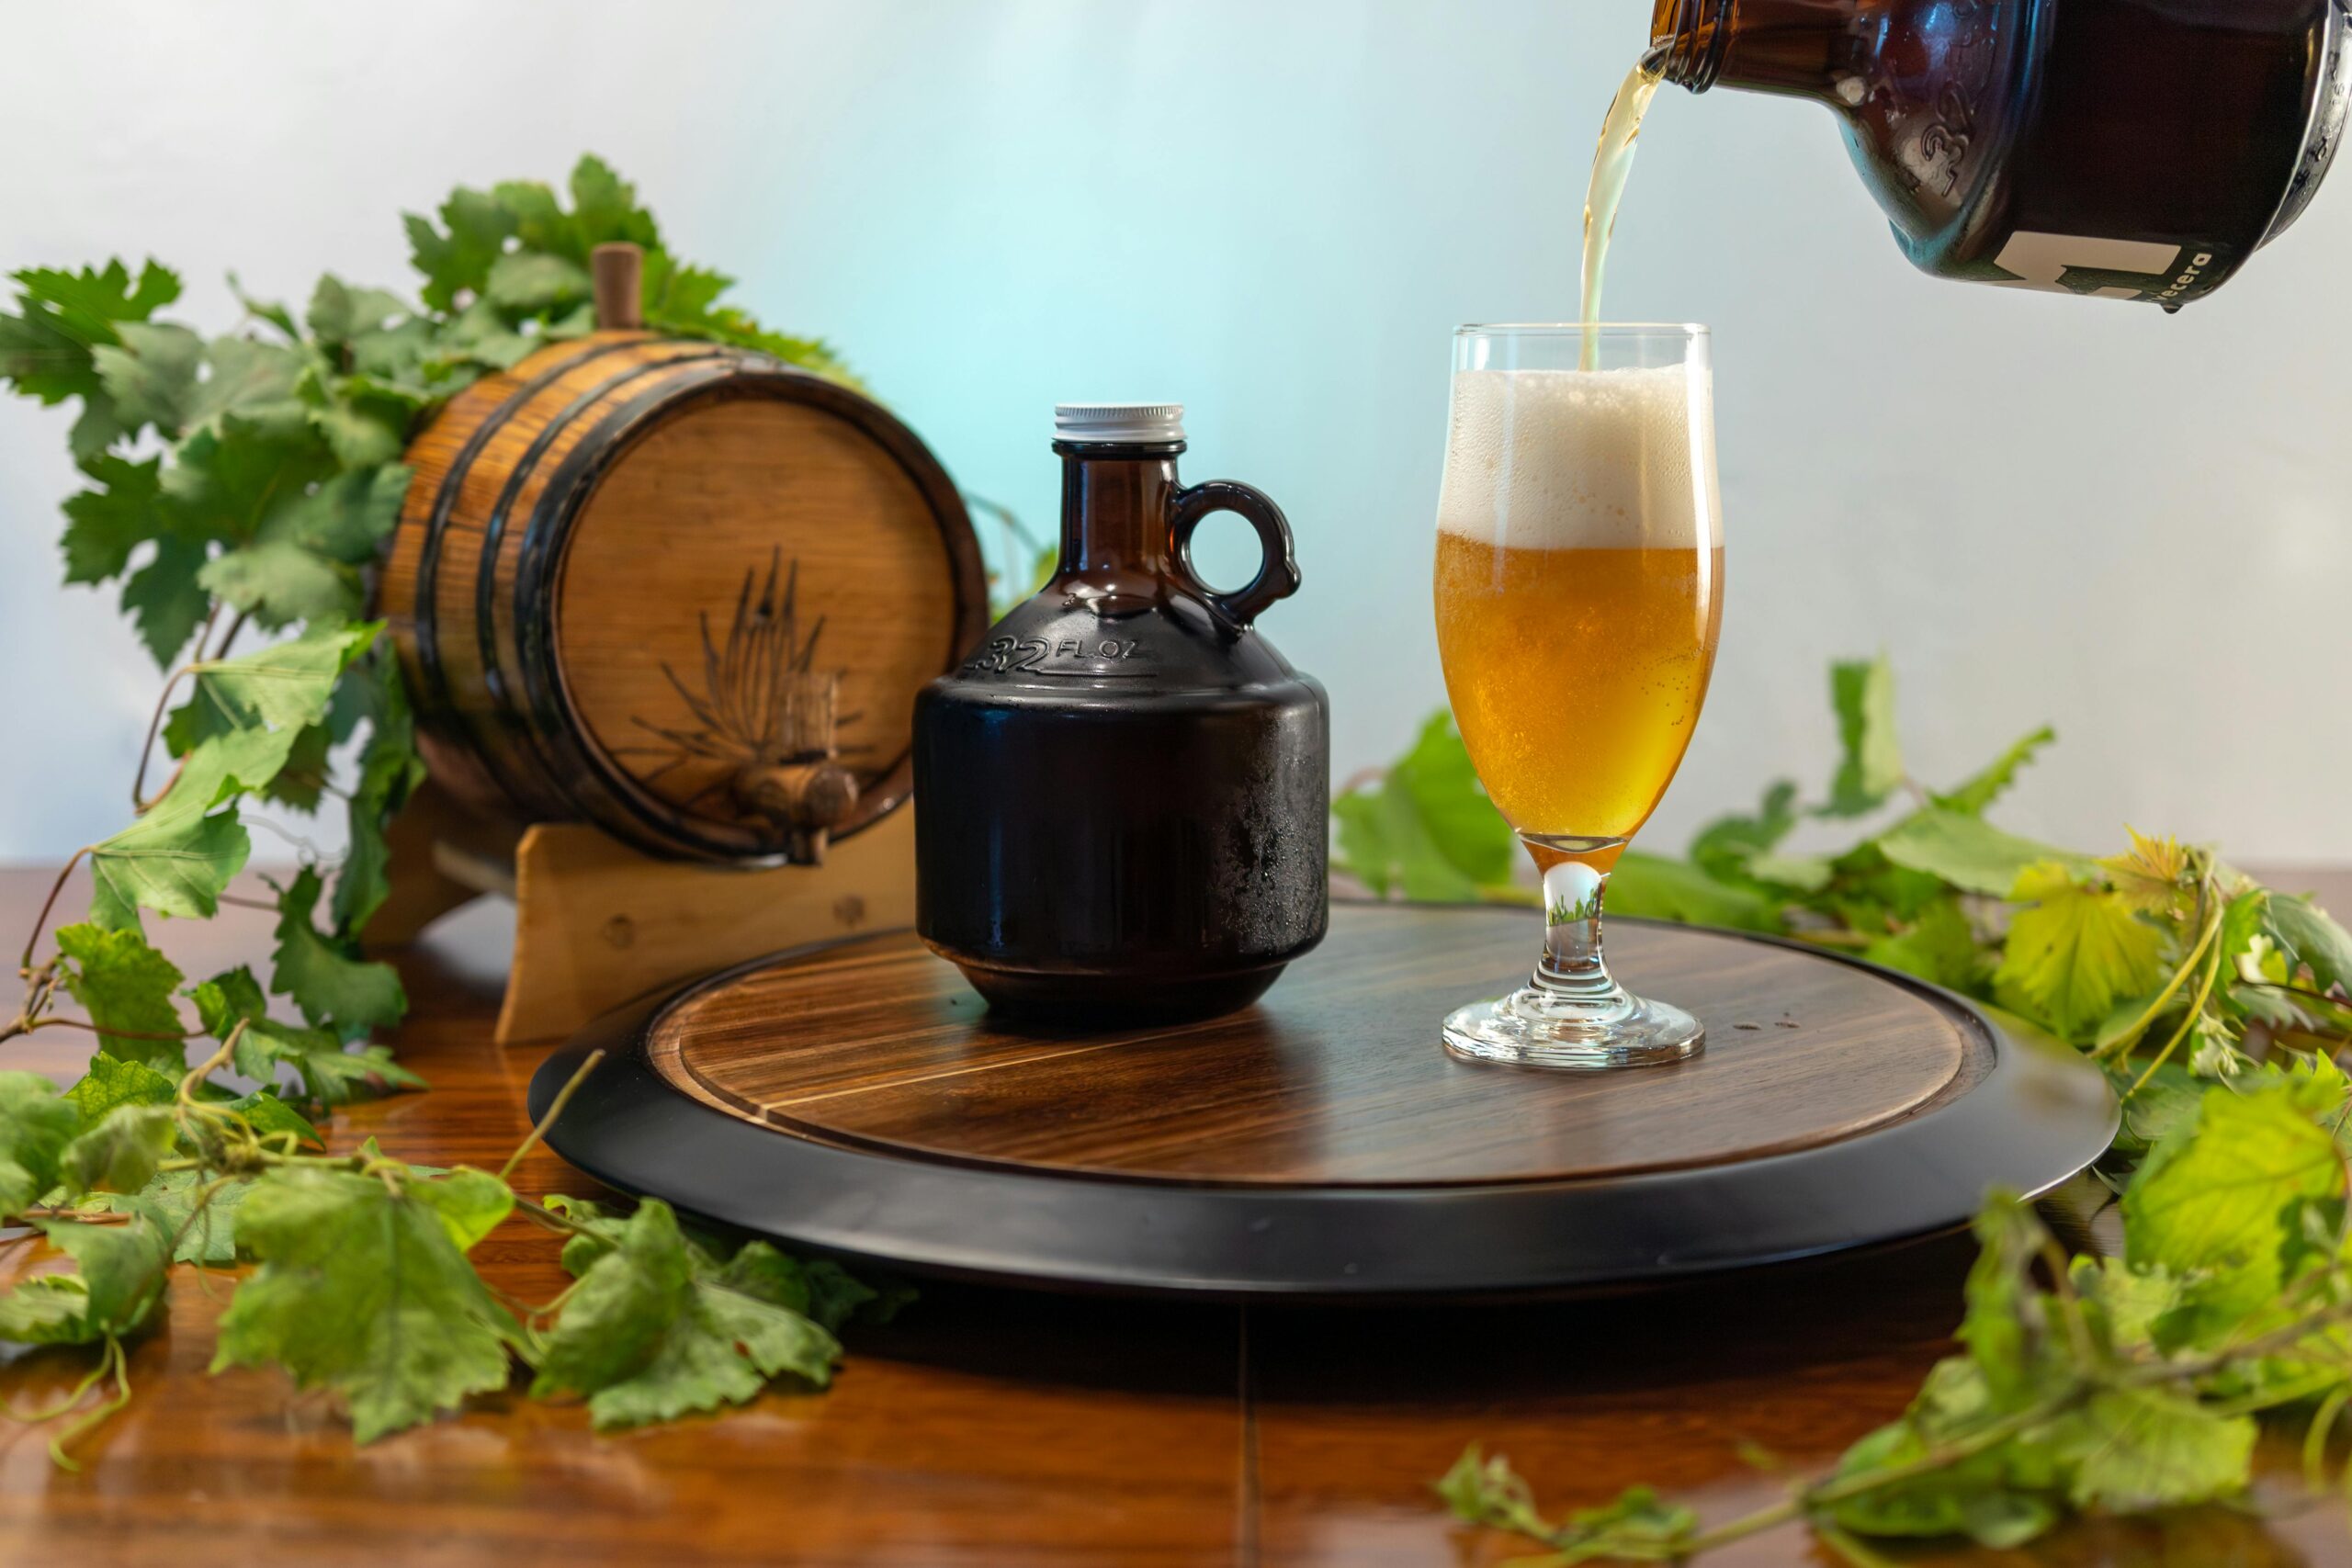
Enjoying Your Homebrew
Once your beer has matured adequately, it’s time to enjoy it! Chill your bottles, pour into a clean glass, and take a moment to appreciate the fruits of your labor.
Pairing with Food
Homebrewed beers can be paired with various dishes. For example, a hoppy IPA complements spicy foods, while a rich stout goes well with chocolate desserts. Explore flavors and find your favorites!
Conclusion
Bottling craft beer at home is an art that requires practice, but it’s extremely rewarding. By following this guide, you’ll ensure that your beer is bottled and stored correctly, leading to a delicious product that you can proudly share with family and friends. So gather your supplies, roll up your sleeves, and bring your brewing dreams to life!
This HTML document provides an informative, structured guide on bottling craft beer for homebrewers. It covers essential steps, tools, and advice needed to ensure a successful bottling process, aimed at making the information accessible and engaging for readers of all ages.